> ## Documentation Index
> Fetch the complete documentation index at: https://docs.spirii.com/llms.txt
> Use this file to discover all available pages before exploring further.
# Your first login
> From the invitation email to a working Connect account.
Your administrator has invited you to Spirii Connect, and this guide takes you from that invitation email to a working, secured account: logged in, protected with multi-factor authentication, and set up the way you want it.
## Before you start
* Your account is created for you, by an administrator at your organisation or by Spirii. You don't sign up yourself.
* You'll receive an **email invitation** at the address you were registered with.
* Have a smartphone with an **authenticator app** ready for multi-factor authentication (Microsoft Authenticator, Google Authenticator, or similar).
## Steps
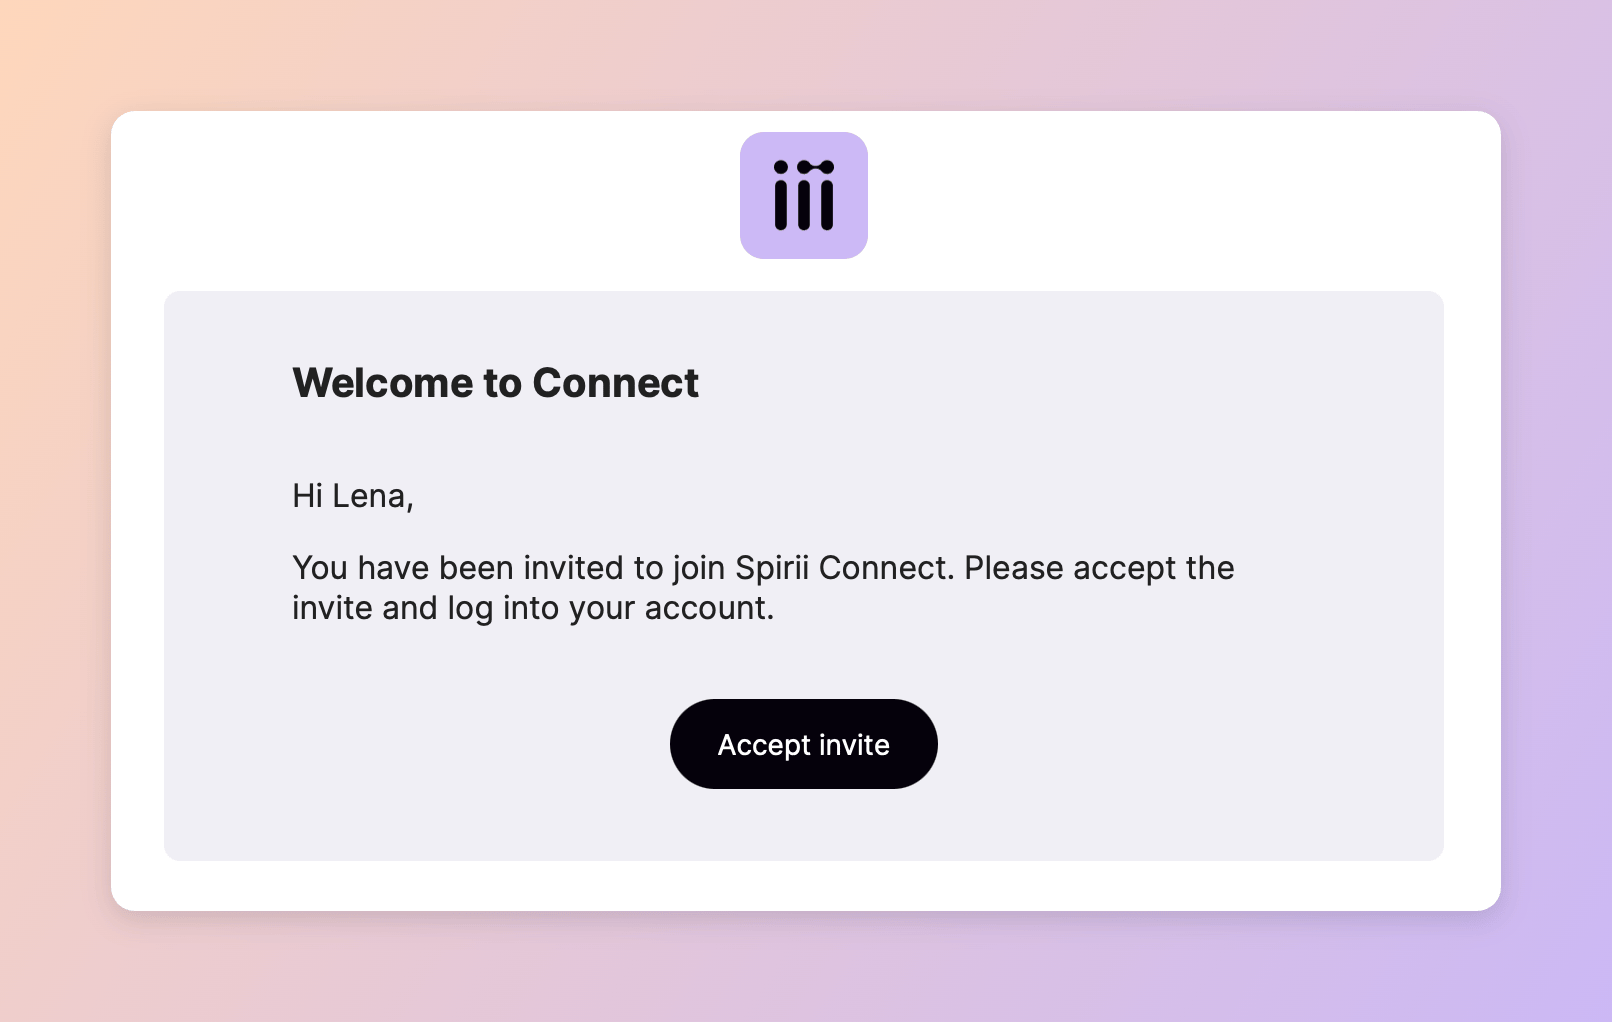
You'll get an email from **[noreply@mail.spirii.com](mailto:noreply@mail.spirii.com)** with the subject **Welcome to Connect**. Open it and click **Accept invite**. Do this within two days, since the invitation expires after that and you'll need a new one.
 Accepting the invite takes you to a secure page. Choose a password, confirm it, and submit. You'll see a message confirming your account is set up, and you can close the page.
Go to [connect.spirii.com](https://connect.spirii.com), worth bookmarking, and sign in with your email and the password you just created.
MFA is required. On screen you'll see a QR code; open your authenticator app, scan it, and enter the six-digit code to confirm. You can also choose to **trust this device** so you won't be asked for a code every time you sign in from it, which is handy on your own work machine.
You're in when the invitation email leads you all the way to the Connect dashboard, with MFA active on your account. From here, what you can see and do depends on the role you were given.
## Set up your profile
Your **Profile** holds a couple of personal settings, reached from your name in the bottom-left of Connect.
Open Profile, choose your language (German, for example), and save. The platform switches straight away. This applies to your account only and doesn't change anything for your colleagues, and you can change it again whenever you like.
Connect is available in English, German, French, Italian, Spanish, Portuguese, and Danish.
Turn this on to preview and try upcoming platform features before they're released to everyone. It's a good way to get an early look, with the understanding that beta features are still being refined.
## Next steps
Get your first charger online and ready to charge.
Bring colleagues and customers into Connect, and set what each of them can do.
Set up a depot and get your drivers charging, on site and on the road.
Accepting the invite takes you to a secure page. Choose a password, confirm it, and submit. You'll see a message confirming your account is set up, and you can close the page.
Go to [connect.spirii.com](https://connect.spirii.com), worth bookmarking, and sign in with your email and the password you just created.
MFA is required. On screen you'll see a QR code; open your authenticator app, scan it, and enter the six-digit code to confirm. You can also choose to **trust this device** so you won't be asked for a code every time you sign in from it, which is handy on your own work machine.
You're in when the invitation email leads you all the way to the Connect dashboard, with MFA active on your account. From here, what you can see and do depends on the role you were given.
## Set up your profile
Your **Profile** holds a couple of personal settings, reached from your name in the bottom-left of Connect.
Open Profile, choose your language (German, for example), and save. The platform switches straight away. This applies to your account only and doesn't change anything for your colleagues, and you can change it again whenever you like.
Connect is available in English, German, French, Italian, Spanish, Portuguese, and Danish.
Turn this on to preview and try upcoming platform features before they're released to everyone. It's a good way to get an early look, with the understanding that beta features are still being refined.
## Next steps
Get your first charger online and ready to charge.
Bring colleagues and customers into Connect, and set what each of them can do.
Set up a depot and get your drivers charging, on site and on the road.